By the end of this post you’ll be able to prep a whole chicken, get it into a slow cooker without wrecking the skin or the shape, judge when it’s done by temperature rather than guesswork, and troubleshoot the handful of problems that trip up nearly every first attempt. The reason a slow cooker works so well for whole chicken is also the reason it confuses people: a closed, moist, low-heat environment produces meat that’s very tender and very juicy, but it will never give you crisp skin, and the bird will be too soft to carve into neat slices. Once you accept those tradeoffs and cook toward them deliberately, whole chicken becomes one of the more forgiving things you can make.
Step 1: Understand What You’re Choosing Before You Buy the Bird
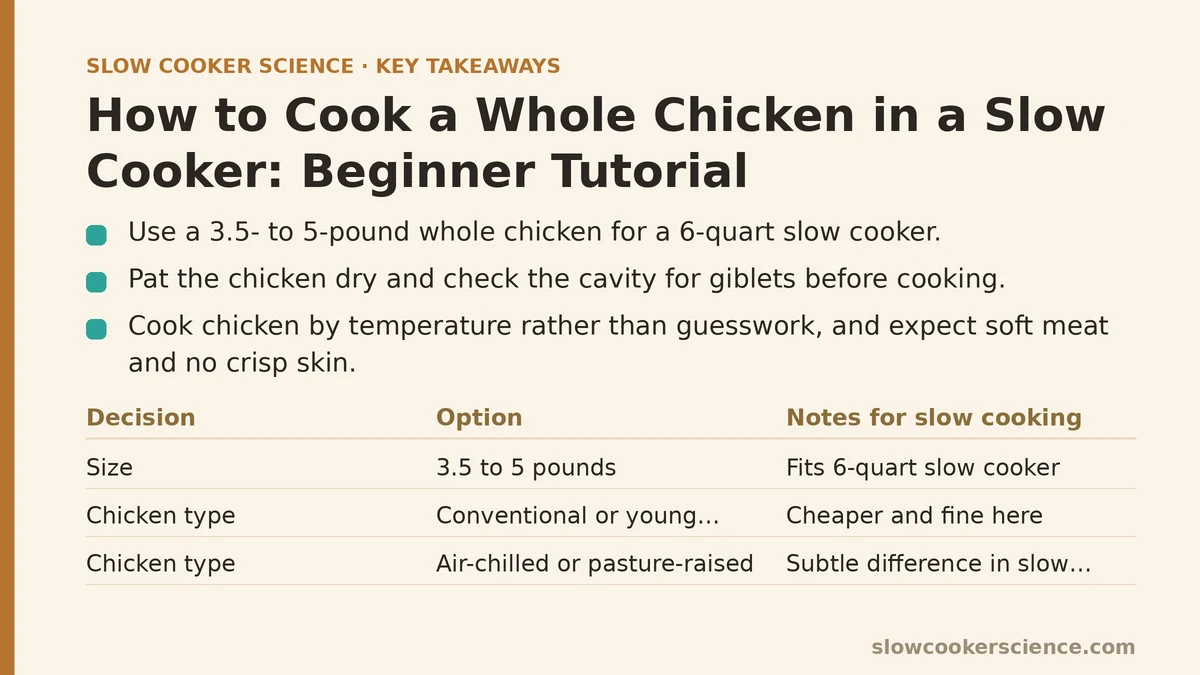
Most grocery stores sell whole chickens in a narrow range, commonly around 3.5 to 5 pounds. That size fits comfortably in a 6-quart slow cooker and is the sweet spot for beginners. A 6- to 7-pound bird often won’t fit under the lid of a standard 6-quart insert without forcing, and forcing it means the lid doesn’t seal properly, which throws off both heat retention and timing.
You’ll also see two broad categories in the meat case, and the choice matters more for slow cooking than for roasting:
- Conventional or “young chicken”: cheaper, widely available, and the default for most recipes. Fine here.
- Air-chilled or pasture-raised: often pricier, sometimes with a slightly firmer texture. The difference is subtle in a slow cooker because the long moist cook softens everything anyway.
There’s a third decision that matters more than either of those: whether the bird has been brined or “enhanced” (look for a saline solution listed in the ingredients on the label). An enhanced bird is already salted, sometimes heavily, so if you’re following a recipe that calls for a dry rub or a salt-heavy seasoning blend, you can easily overshoot. If you’re unsure, taste a small sliver near the end of cooking before adding more salt.
Step 2: Prep the Bird — What to Trim, What to Leave
Pat the chicken dry with paper towels inside and out. This isn’t about crisping the skin (it won’t crisp); it’s about reducing the amount of loose liquid that ends up in the insert. A wet bird sheds more water in the first hour, and that excess liquid dilutes whatever seasoning you’ve added.
Reach inside the cavity and confirm there’s nothing left in there. Giblets and the neck are usually bagged separately, but they’re occasionally tucked into the cavity, and forgetting them is a common beginner moment. If you find them, they can go into the insert alongside the bird for extra flavor in the drippings, or be set aside for stock.
Two things you can leave alone: the skin (it helps hold the meat together and keeps some fat rendering into the drippings) and the wing tips, which usually tuck under the body naturally.
Step 3: Build a Base So the Bird Isn’t Sitting in Liquid
A whole chicken placed directly on the bottom of an insert will sit in its own juices for the entire cook. That’s fine for the meat, but the bottom portion of the bird can get waterlogged and the drippings become diluted. Two common fixes:
- Vegetable trivet: a layer of thick-sliced onion, carrot, celery, or halved potatoes across the bottom. The bird rests on top, drippings fall through, and the vegetables cook down into a savory base. This is the most beginner-friendly option because it’s forgiving and gives you a side dish for free.
- Foil or rack: a small coil of aluminum foil or a metal rack lifts the bird clear of the bottom. Cleaner drippings, less bonus flavor.
Either works. The vegetable layer is more forgiving of slightly uneven heat and gives more margin if you’re new to judging doneness.
Step 4: Season It, Then Get It In
Rub the bird with oil or softened butter, then apply salt, pepper, and whatever dried herbs or spices you’re using. Dried thyme, rosemary, smoked paprika, garlic powder, and lemon zest all work well here. Fresh herbs like parsley and cilantro are better reserved for after cooking — they lose their brightness over a multi-hour cook.
If you want aromatics inside the cavity, a halved lemon, a few garlic cloves, and a bundle of thyme or rosemary are the classic combination. Don’t pack the cavity tightly; air needs to circulate for even heating.
Set the bird breast-side up in the insert. Some recipes call for breast-side down, which can help keep the leaner breast meat from drying out, but it also makes the bird harder to lift out later without it falling apart. Either is workable; breast-side up is easier for a first attempt.
Step 5: Set the Time and Walk Away
The most common timing for a 4- to 5-pound bird is:
- Low: 6 to 8 hours
- High: 3.5 to 4.5 hours
Do not add water or broth in most cases. A whole chicken releases plenty of liquid on its own, and adding extra liquid is the single most common reason beginners end up with a soggy, washed-out result. If your recipe specifically calls for liquid (say, a cup of broth to make a pan sauce), use it, but don’t add any out of habit.
Keep the lid on. Every peek releases heat and extends the cook, and there’s nothing useful to see until the last hour anyway.
Step 6: Check Doneness by Temperature, Not by Time Alone
The internal temperature of the thickest part of the thigh (avoiding the bone) should read 165°F / 74°C. Checking the breast as well is worth doing — it often reads a few degrees higher or lower than the thigh. If either reads below 165°F, return the bird to the cooker and check again in 15 to 20 minutes.
Don’t rely on color of the juices or the looseness of the leg to tell you the meat is safe. Those are useful texture cues, not safety cues. A thermometer is the only reliable check.
One nuance specific to slow cooking: because the meat is held at temperature for hours, it will read well above 165°F when you pull it, often in the 180s or higher. That’s normal and not a problem — the long, moist heat keeps the meat tender even at those temperatures, unlike a roast where high internal temps mean dry meat.
Troubleshooting: Symptom, Cause, Fix
Once you’ve made a bird or two, these are the issues that come up most.
The meat is dry, especially the breast. Cause: It was cooked past the point where the meat could keep its moisture, often because the cooker ran long on high or the bird was slightly undersized for the time given. Fix: On the next attempt, reduce time by an hour and check earlier. For the current bird, shred the meat into the drippings or a little warm broth — dry chicken recovers well when it’s pulled apart and rehydrated in liquid.
The bird fell apart when I tried to lift it out. Cause: This is the expected outcome, not a failure. After several hours of moist heat, the connective tissue has fully broken down, and the bird will come apart at the joints. Fix: Don’t try to lift it whole. Use two large spoons or a slotted spatula to transfer the meat in sections. Or, if you’re shredding it anyway, just pull the meat out directly with tongs. This is why most slow-cooker whole chicken recipes end with shredded or pulled meat rather than carved slices.
The skin is pale and flabby. Cause: A slow cooker traps steam, so the skin never gets the dry heat that would crisp it. Fix: Either accept it (the meat underneath is what matters), or run the finished bird under a broiler for 3 to 5 minutes on a sheet pan. The broil will crisp the skin without drying the meat if you keep the bird whole and don’t leave it in long. Note that this is optional.
The dish tastes watery or washed out. Cause: Excess liquid from the bird (and any you might have added) plus under-seasoning. Fix: Strain the drippings into a small saucepan, simmer on the stovetop until reduced by about half, and spoon the reduced liquid over the meat. If the bird was enhanced, the salt could be the issue instead — taste before adding more.
The bottom of the bird is pale and soggy. Cause: It sat directly on the insert bottom in its own juices. Fix: Use a vegetable trivet or a foil coil next time. The current bird is still perfectly good — the soggy bottom layer just isn’t the prettiest part.
The meat smells or tastes slightly off after cooking. Cause: Almost always the bird spent too long at a warm-but-not-hot holding temperature, or was left to cool slowly at room temperature after cooking. Fix: Serve or refrigerate promptly. Leftovers should chill in shallow containers within two hours of coming out of the cooker. Reheat leftovers to 165°F before eating.
Nothing released when I lifted the lid and I panicked. Cause: The bird hasn’t had enough time. Fix: Put the lid back on, add 30 minutes on low, and check again with a thermometer. Opening the lid early and often is the most common cause of a slow cook running long.
A Note on Food Safety for Beginners
A few basics are worth repeating because whole chicken is a raw-poultry handling situation, and slow cookers add one wrinkle: the low-and-slow profile spends more time in the temperature range where bacteria are most active before reaching the safety threshold.
- Thaw the bird fully in the refrigerator before cooking. A partially frozen bird will sit in the danger zone far longer than a thawed one.
- Wash your hands, the cutting board, and any utensils that touched raw chicken with hot soapy water before they touch anything else.
- Start the cook on Low or High; don’t leave a raw bird in an unplugged or “warm” setting.
- Verify 165°F / 74°C at the thickest part of the thigh and the breast before serving.
- Refrigerate leftovers within two hours and reheat to 165°F.
If any of those feels like a lot to track on a first attempt, that’s normal. The thermometer check and prompt refrigeration cover the majority of the risk.
Whole chicken in a slow cooker isn’t a roast and shouldn’t be judged against one. It’s a different dish: tender, shreddable, deeply seasoned meat that’s best used in tacos, soups, grain bowls, sandwiches, or simply spooned over the vegetables that cooked underneath it. Once you’ve made one or two, the timing and the doneness check become second nature, and you can start experimenting with seasoning blends, citrus, and aromatic bases without worrying about whether the bird will come out dry.
What’s your setup — insert size, whether the bird is brined, and what you’re planning to do with the meat afterward? Share those three details and it’s easy to map out a specific time and seasoning plan for your first cook.
Related guides: Slow Cooker Mistakes That Cause Dry Chicken and How to Fix Them, Slow Cooker Whole Chicken Safety and Timing Guide, and Freezer-to-Slow-Cooker Meal Prep: A Beginner’s Step-by-Step Guide.